Note Editor
This chapter details the various functions of the Knowlink note editor, including title settings, content editing, formatting operations, category management, and other core features.
Title and Illustration Management
Title Editing
Note titles support real-time editing. Click on the title area to modify directly. Titles are automatically saved without additional operations.
Smart Illustration Generation
The system automatically generates relevant illustrations based on the note title to enhance the visual appeal of the note.
Operation Steps:
- Modify the note title
- System automatically generates corresponding illustrations
- Click the "Update" button in the illustration area to regenerate

WYSIWYG Edit Mode
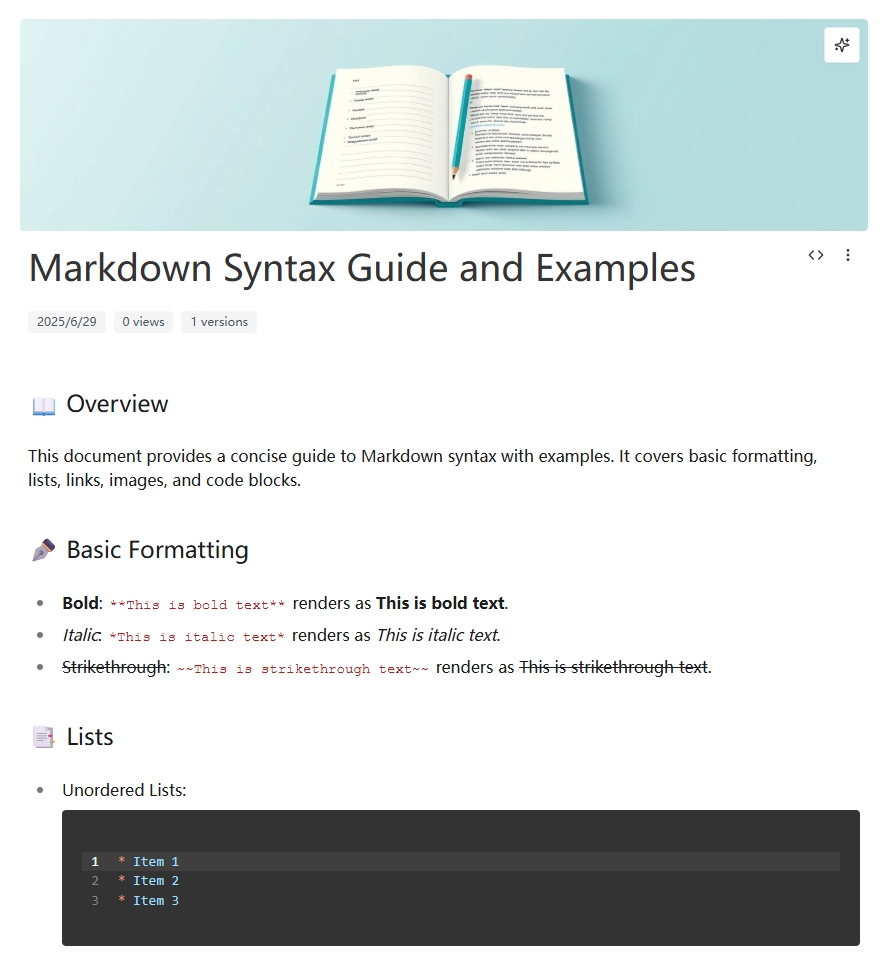
Markdown Syntax Support
The editor fully supports standard Markdown syntax, providing a what-you-see-is-what-you-get editing experience.
Common Syntax Examples:
| Syntax | Effect | Description |
|---|---|---|
# Level 1 Heading | # Level 1 Heading | Page main title |
## Level 2 Heading | ## Level 2 Heading | Chapter title |
**Bold text** | Bold text | Emphasize important content |
*Italic text* | Italic text | Slight emphasis |
[Link text](URL) | Link text | Hyperlink |
 | Image display | Insert image |
- List item | • List item | Unordered list |
1. List item | 1. List item | Ordered list |
`code` | code | Inline code |
```code block``` | Code block | Multi-line code |
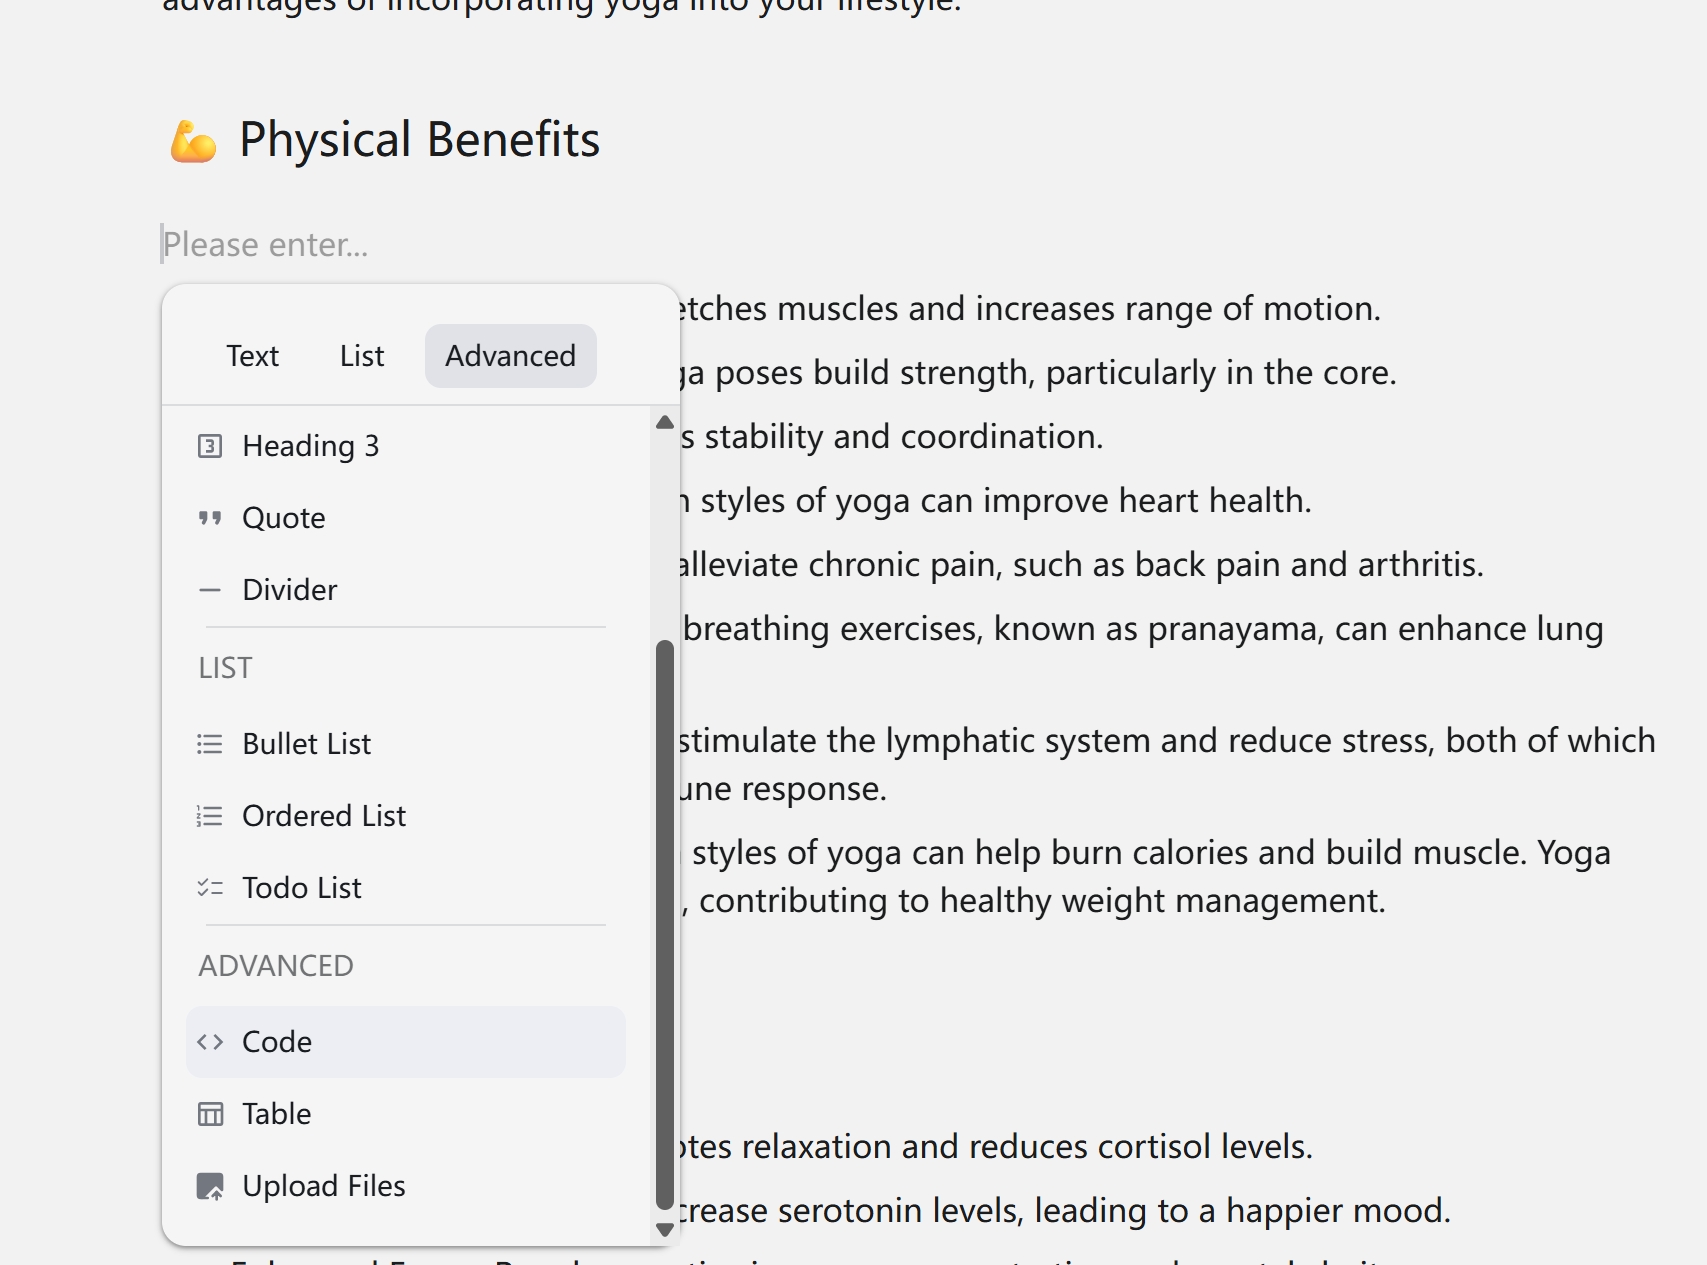
Format Menu
Click the format menu button or press the / shortcut to quickly access the format menu, providing common formatting operations and image/file upload functions.
Note Management Functions
Note Menu Operations
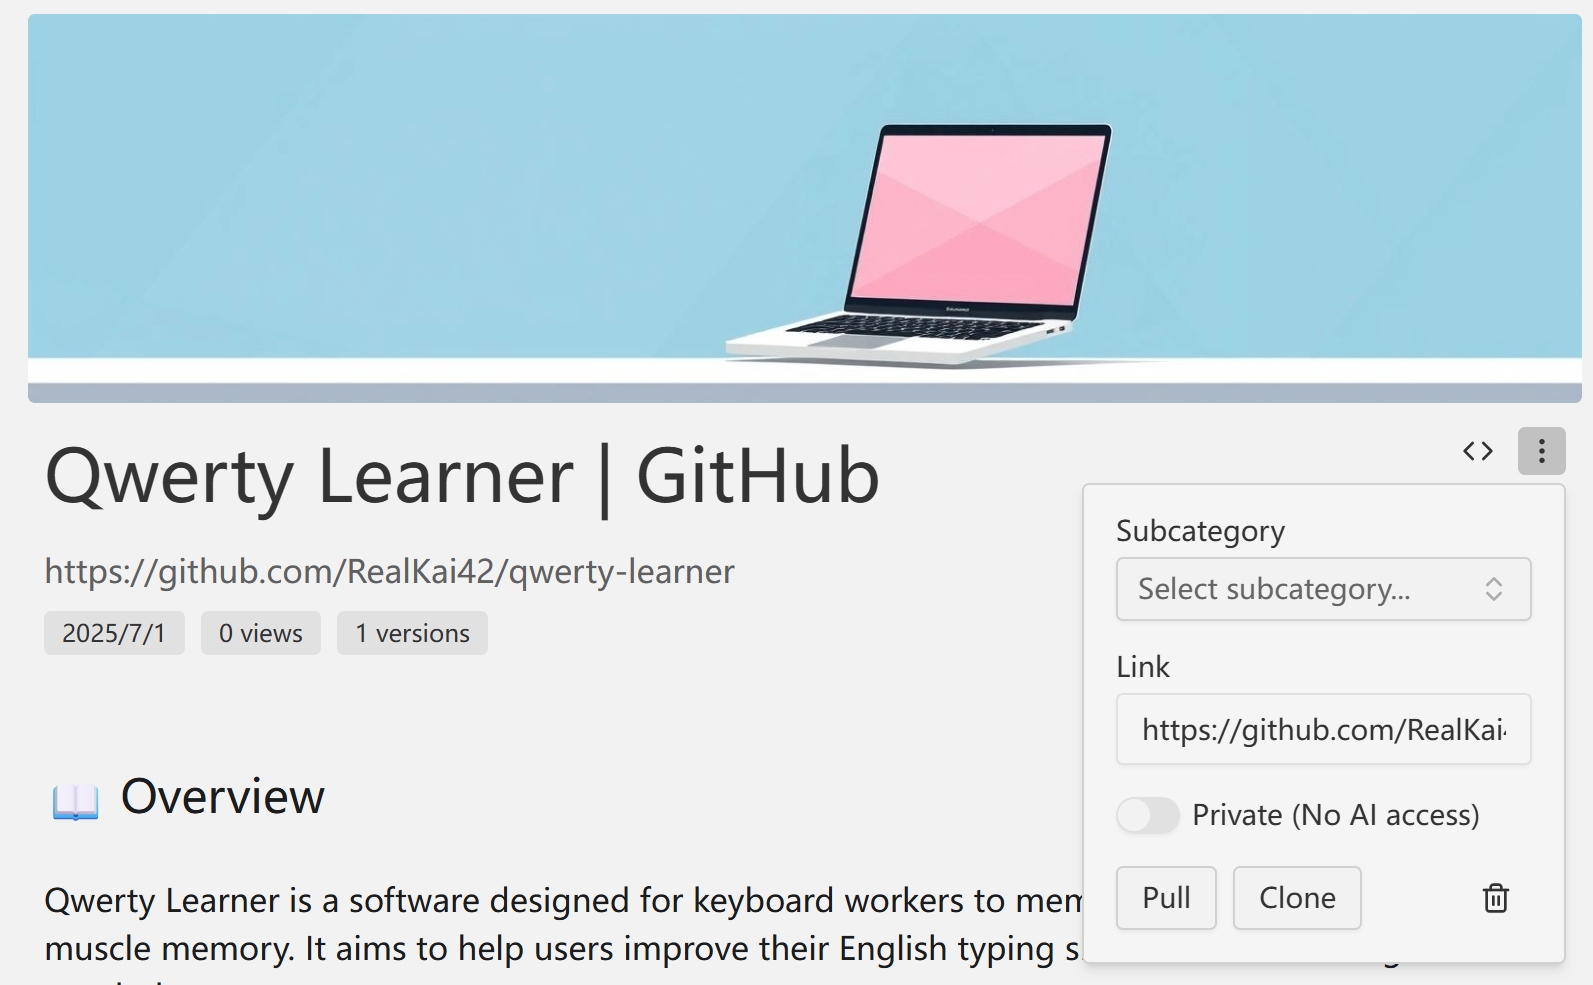
Access the following management functions through the menu button in the top-right corner of the note:
Clone Note
Create a complete copy of the current note, including all content and settings.
Use Cases:
- Create template notes
- Backup important content
- Create variants based on existing notes
Pull Content
Fetch the latest content from the bookmark link and update the current note.
Operation Steps:
- Ensure the note contains a valid webpage link
- Click the "Pull" option
- System automatically fetches and updates content
Notes:
- Only effective for bookmark-type notes
- Requires internet connection
- May overwrite existing content
Delete Note
- Deleted notes will be moved to the recycle bin
- Can be restored or permanently deleted from the recycle bin
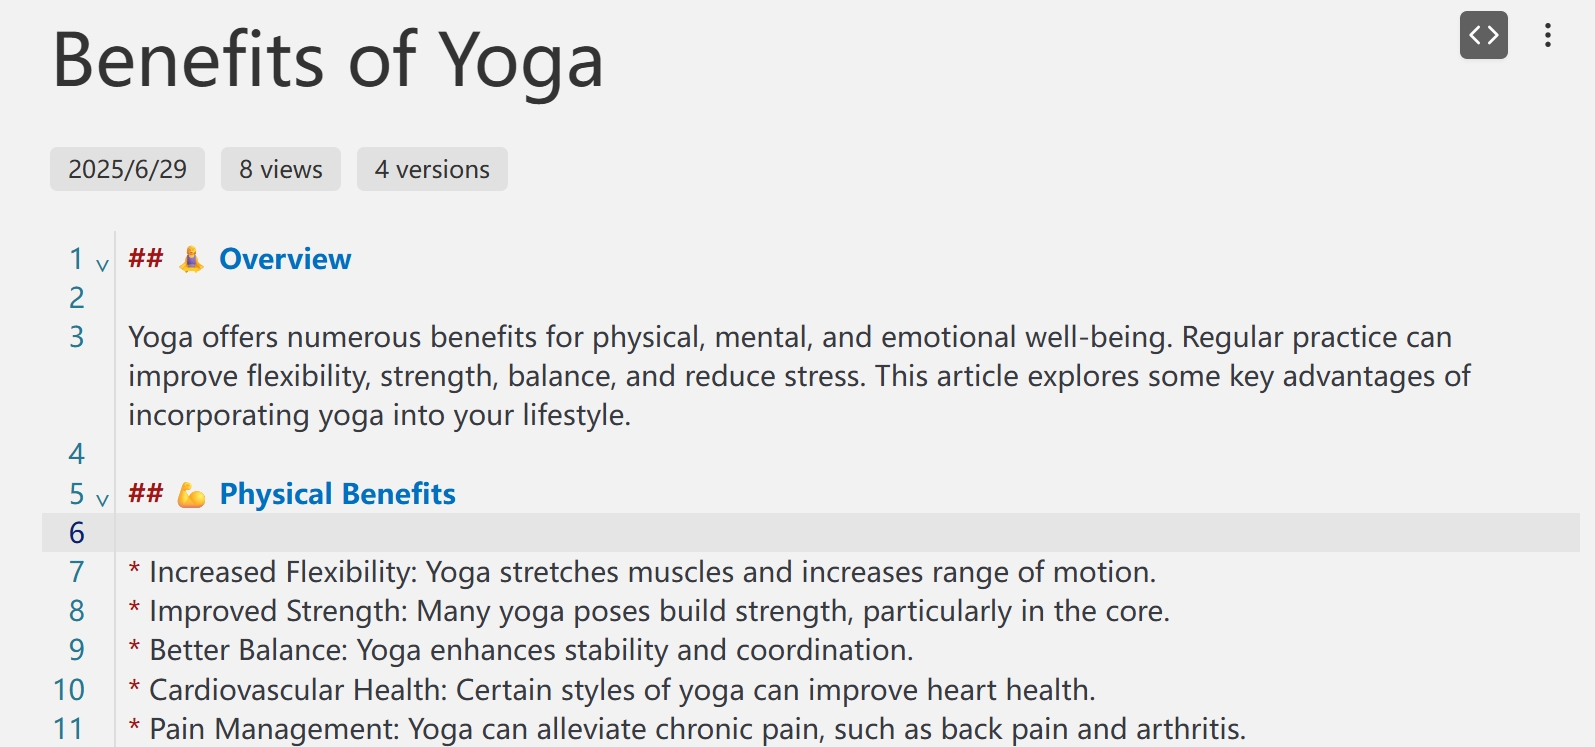
Code Edit Mode
Switching Method
Click the "Code" button in the top-right corner of the editor to switch to Markdown source code edit mode, providing more precise content control.
Syntax Highlighting
Code mode supports Markdown syntax highlighting to enhance the editing experience.
AI Smart Editing
Shortcut Operations
The editor integrates powerful AI assistance functions, accessible through shortcuts:
Ctrl+J: Smart Continuation
Automatically continue writing content at the cursor position based on the current context.
Usage Example:
Current content: Today I learned the basic concepts of React, including components, state, and lifecycle...
After pressing Ctrl+J, AI might continue: Among them, components are the basic building blocks of React applications, divided into function components and class components...
Ctrl+K: Content Rewriting
Select text and press Ctrl+K, then enter rewriting requirements. AI will rewrite the selected content according to your requirements.
Usage Example:
Selected text: This feature is very useful
Press Ctrl+K, enter requirement: Change to more formal expression
AI rewriting result: This feature demonstrates excellent practicality and ease of use
Ctrl+L: Smart Q&A
Enter a question, and AI will provide relevant answers based on the current note content.
Usage Example:
Question: How to optimize the performance of this code?
AI answer: Based on your current code, I recommend the following optimization strategies...
Tab
Apply AI-generated content.
Version Management
Version Saving
The system automatically saves note modification history and can also manually create version snapshots.
Manual Version Creation:
- Click the version management button
- Select "Create New Version"
- Enter version description (optional)
- Confirm creation
Version Recovery
Select any historical version for recovery, supporting preview and comparison functions.
Recovery Steps:
- Open the version management panel
- Browse the historical version list
- Select the target version
- Click "Restore to This Version"
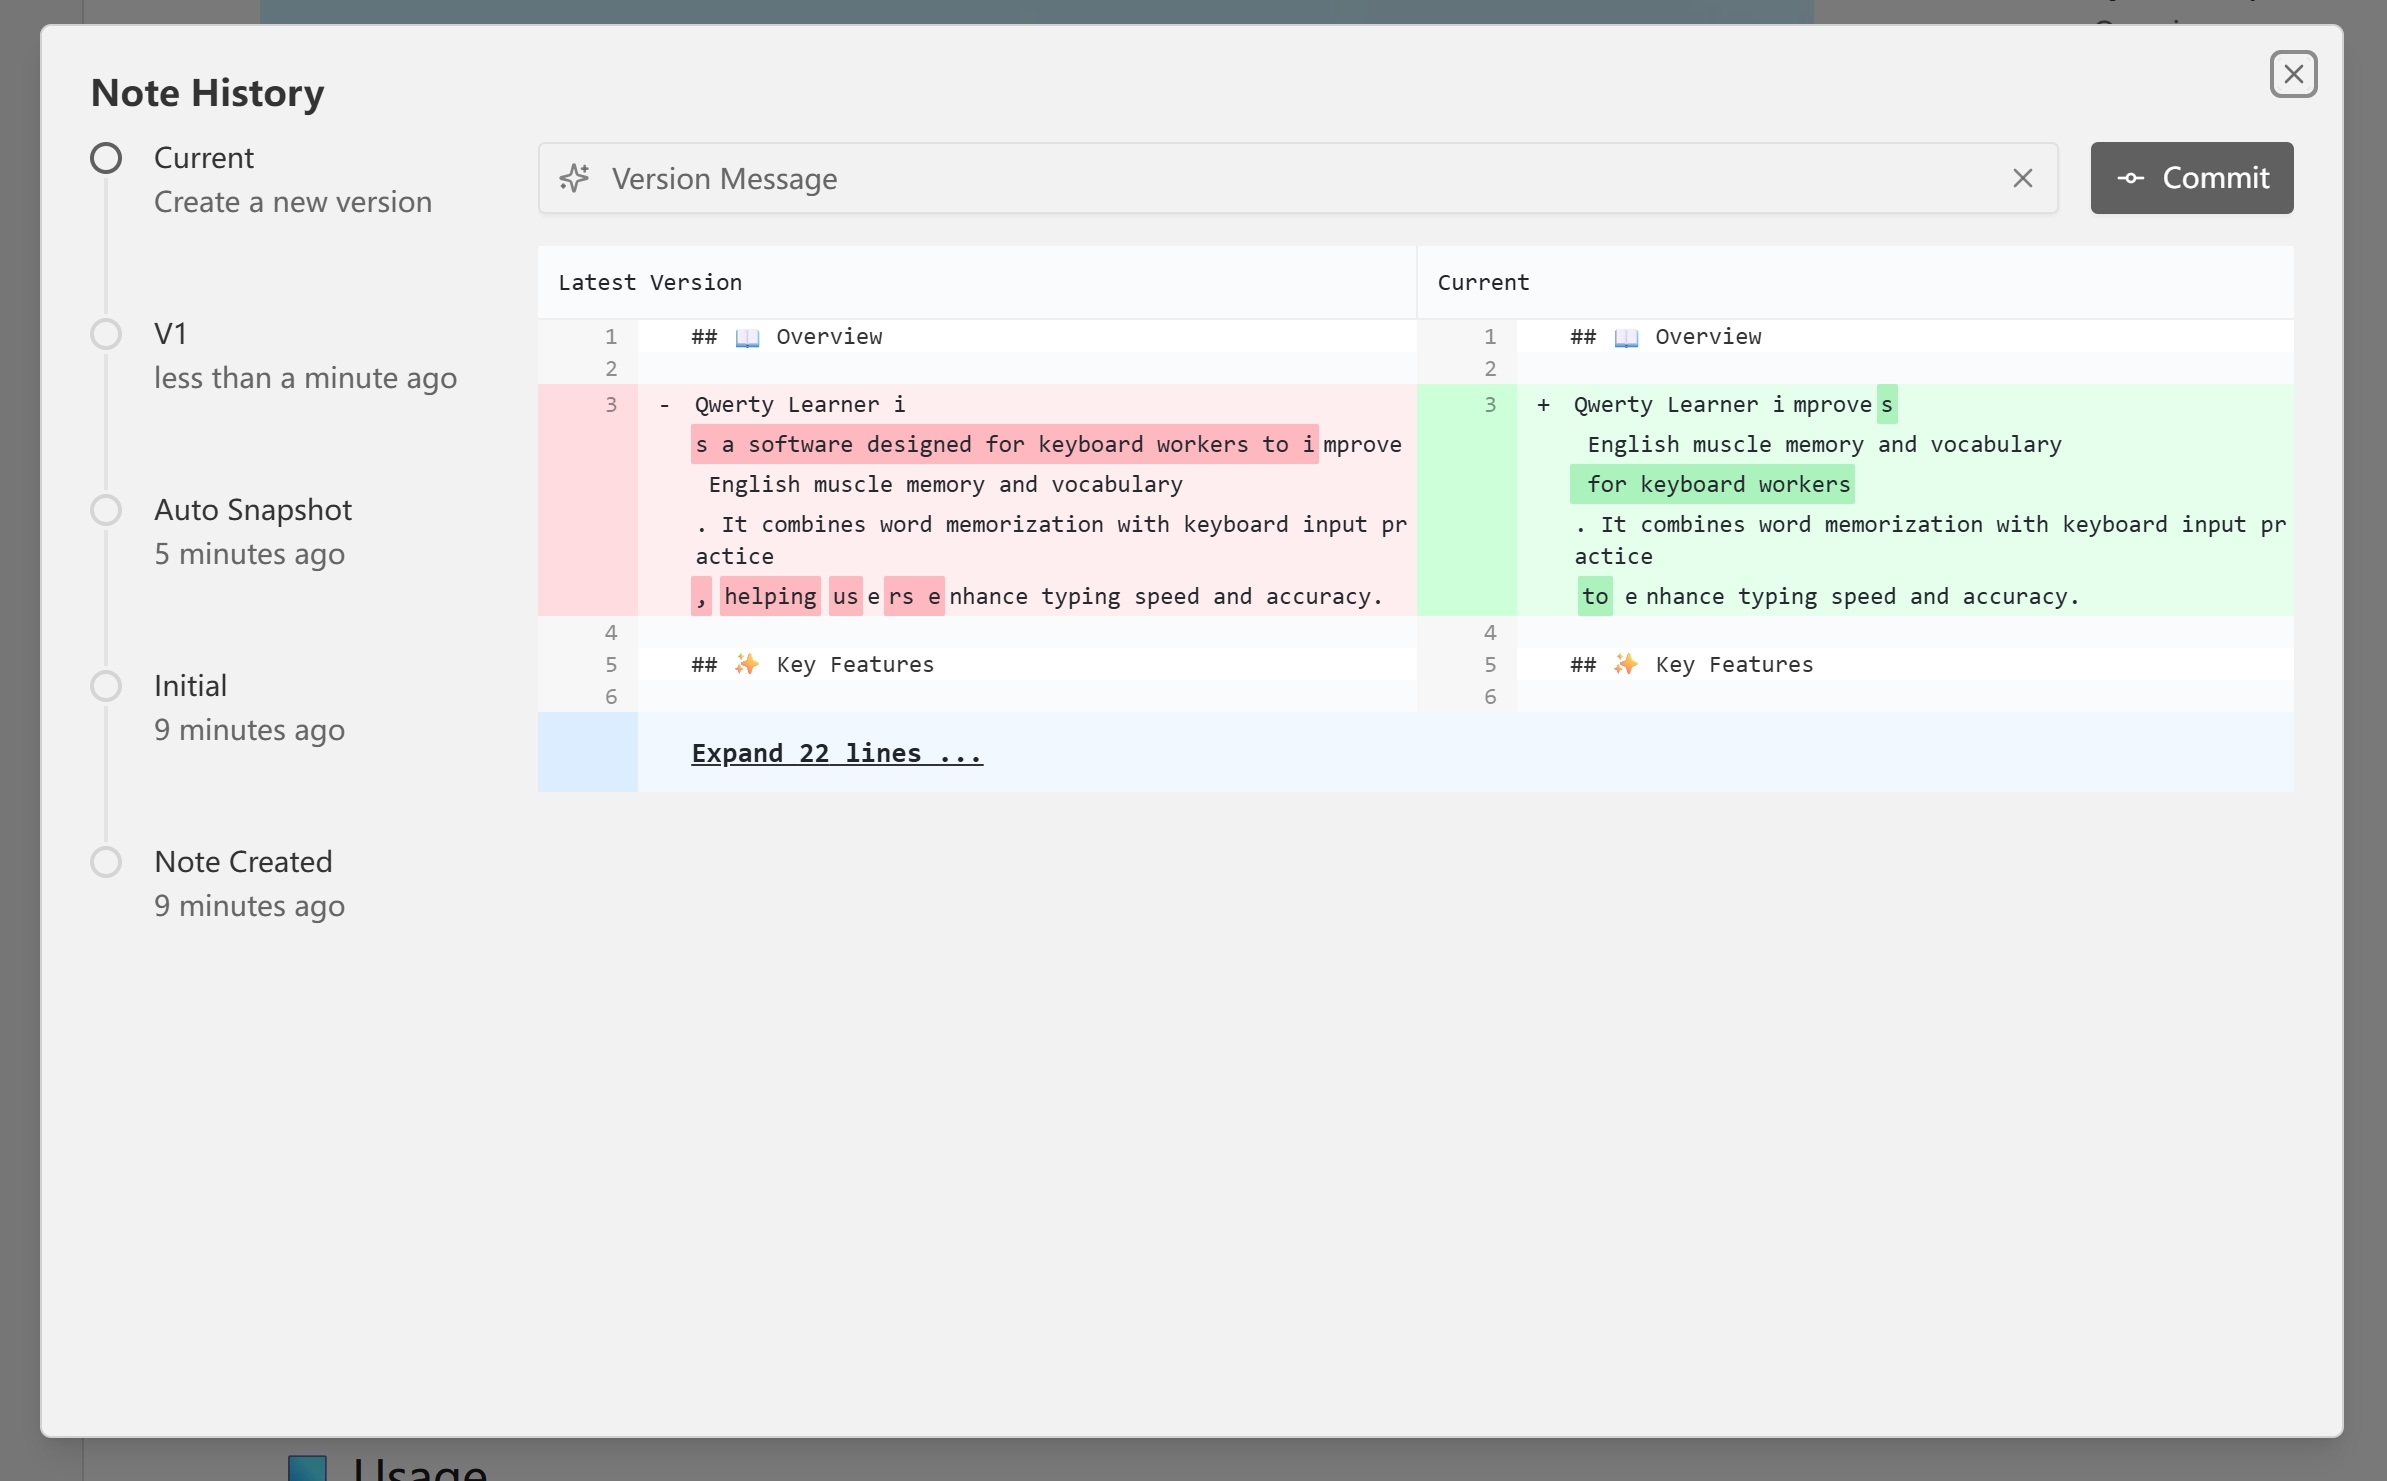
Version Comparison
Use the comparison function to view differences between different versions, supporting line-by-line comparison.
Version Management Best Practices
- Regularly create versions for important milestones
- Use descriptive version names
- Create backup versions before major modifications
- Regularly clean up outdated historical versions